Publicado em 6 de outubro de 2026
How to take vacation rental photos with your phone
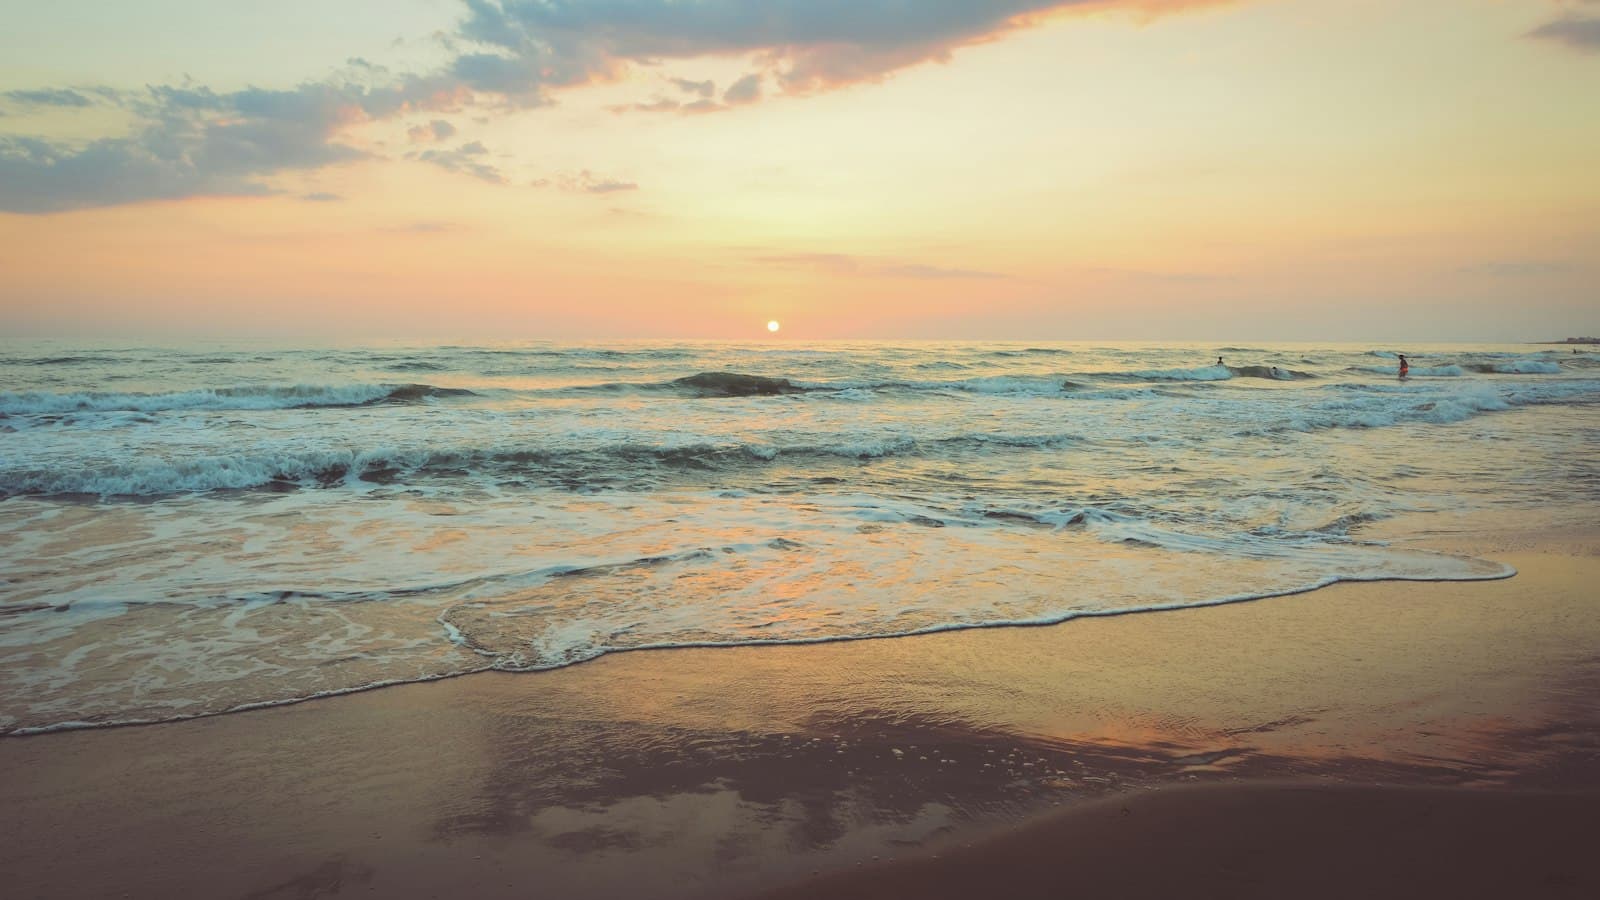
How many times have you scrolled past a listing because the first photo was dark or crooked? Your guests do the same. Before they read a single line of your description, they look at the photos and decide in seconds whether it is worth going further.
The good news is that you do not need a professional camera. The phone you already own is enough if you prepare the space, use the light well and shoot in a set order. This guide takes you step by step, from the cleanup before the shoot to the final selection.
Key Takeaways
- Prepare each space before you shoot: cleaning, tidying and made beds matter more than any filter.
- Natural light in the morning or mid-afternoon makes spaces look open and true to life.
- Shoot horizontally, at chest height and from the corners, to show the whole room.
- Order the photos like a walkthrough and show only what guests will find when they arrive.
Table of Contents
- Prepare the property before the shoot
- Set up your phone and use the light
- Shoot each space with a plan
- Choose, order and upload your photos
Prepare the property before the shoot
A good photo starts before you take out your phone. Walk through the property like a guest who has just arrived and note anything that distracts.
Clean up and remove personal items
Put away family photos, papers, toothbrushes, chargers and cleaning products. Take out the trash, hide cables behind furniture and leave surfaces almost empty. A kitchen counter with three well-placed items looks bigger than one covered in useful things.
Make the beds with smooth sheets and fold the towels the same way in every bathroom.
Set up the details guests look for
Think about what your guest wants to confirm with their own eyes: that the bed is comfortable, that the kitchen works for cooking and that the workspace really exists. Leave the desk and its chair in view, the dining table clear and the terrace furniture clean. If the pool or the balcony is part of the appeal, make sure they are ready on the day of the shoot.
If you live in the US and cannot be there, send this guide to the relative or co-host who will take the photos. A written list gets them much closer to the result you have in mind.
Set up your phone and use the light
Before the first photo, wipe the lens with a soft cloth. A fingerprint leaves every photo with a blurry haze.
Settings worth checking
- Use the phone's main camera. If you have a wide-angle lens, try it, but keep the walls from looking curved.
- Turn on the grid in the camera settings to keep the lines of walls and doors straight.
- Turn off the flash. It creates harsh shadows and glare on glass and mirrors.
- Tap the screen on the most important area to focus, and slide your finger to adjust brightness.
- If your phone has an HDR mode, turn it on so the windows do not come out white.
Find the best time of day
In the Dominican Republic the midday sun is strong and leaves hard shadows. Morning or mid-afternoon usually gives a softer light. Open all the curtains, turn on the room's lamps and switch off the ceiling light if it looks yellow.
For the front of the building or the view, pick a moment when the sun is not shining straight at you.
Shoot each space with a plan
Going room by room with a list keeps you from missing the bathroom photo once you are already back home. Follow this order on each visit:
- The main photo. Find the most appealing space, usually the living room, the view or the pool, and shoot it horizontally.
- The shared areas. Living room, dining room and kitchen, each from the corner that shows the most space.
- Each bedroom. One wide photo of the bed and another that shows the closet or the air conditioning.
- Each bathroom. With the toilet lid down and the shower curtain or door tidy.
- Outdoor areas. Terrace, balcony, patio, pool, parking and the building entrance.
- Useful details. The desk, the washer, the wifi router or the inverter, if you have one.
Angle, height and framing
Stand in a corner, hold the phone at chest height and keep it level, without tilting it up or down. That way the walls come out straight and the room looks as it really is. Use the rule of thirds to place the bed or the sofa slightly off center. If you want to understand the idea, the rule of thirds is well explained on Wikipedia.
What not to do
Do not use filters that change the color of the walls or the sea. Do not erase stains, cracks or cables with editing apps. Do not use photos of the complex's shared pool as if it were private. If guests arrive and the property does not look like the photos, they will notice, and it can show in their review under accuracy.
Choose, order and upload your photos
Pick the best photo of each angle and drop any that are blurry, crooked or repeated.
Build a logical walkthrough
Order the photos as if the guest were walking through the property: the main photo first, then the shared areas, then bedrooms and bathrooms, and finally outdoor areas and details. Check on your phone screen how the first photo looks at a small size, because that is how most people will see it in search results. Your photos and your text should tell the same story. If you are working on the text, read our guide on how to write a listing description that helps guests decide fast.
Upload your photos to your SimpleStay listing
In the SimpleStay listing editor you upload photos from your browser, with nothing extra to install. If you work with a co-host, you can invite them by email for that property, and from their Co-Host dashboard they can update the photos when you change furniture or repaint. After each stay, guests rate the listing's accuracy, so up-to-date photos also protect your reputation.
Your photos work for you
Clear, honest photos save guests questions and save you messages. You do not need expensive gear: with a prepared space, good light and a logical order, your phone can do more than you might expect. No photo can guarantee bookings, but good ones help the right guest stop at your listing.
If your photos are ready, create your listing on SimpleStay. Every new listing gets a free trial: 30 days, or 7 days for listings located in the United States. After that, it costs US$50 a month per property, with 0% SimpleStay commission. Stripe processing, bank fees, currency conversion and taxes may apply separately.
List your property with a free trial
Frequently Asked Questions
Can I take my rental photos with my phone?
Yes. A recent phone is enough if you clean the lens, use natural light, hold the phone level at chest height and shoot horizontally. Preparing the space matters more than the equipment.
What is the best time of day to photograph a property?
Morning or mid-afternoon usually gives softer light than midday. Open the curtains, turn on the lamps and avoid the flash. For the view or the sunset, plan a separate shoot at that hour.
Which photo should go first in my listing?
Put the most appealing and representative space first, such as the living room, the view or the pool, shot horizontally. Check how it looks at a small size, because that is how it appears in search results.
Is it okay to edit my property photos?
You can correct brightness and straighten the image. Do not change colors, do not erase flaws and do not show spaces guests cannot use. The photos should match what guests find when they arrive.
Can my co-host change the listing photos on SimpleStay?
Yes. A co-host invited by email for that property can manage the details and photos from their Co-Host dashboard. They cannot publish the listing, manage billing or change payouts.
